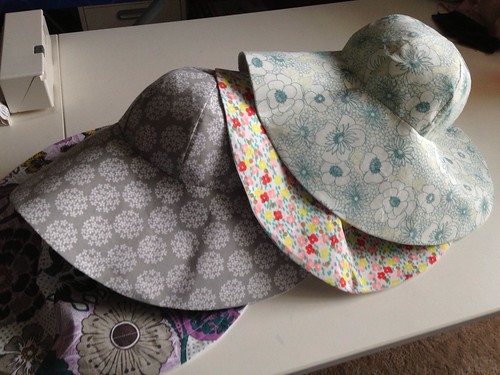
I ended up making five because my first one was an utter failure (more on this later), and I have one more cut out for myself. It might be awhile before I finish mine because I need a break after the first 5. The 5th hat is not picture, but it's the same fabric as the bottom hat.
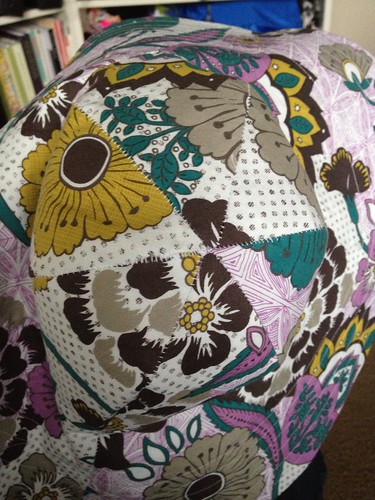
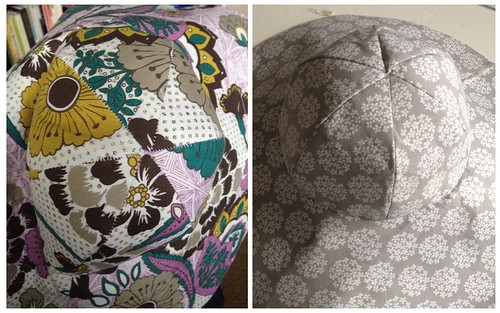
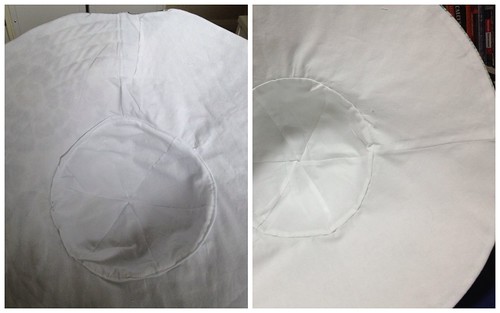
Searched to see if anyone had made it and turns out there were some already made up. Reviews can be found here on Pattern Review. One of the reviews said she just used a serger to make most of the hat. I thought that sounded pretty good and that it would make the process quick so wanted to give it a try. Big mistake for me! I could not get the tension correct even after several attempts. The stitching on the crown could be seen in the right side, and I didn't have enough control to line up the crown pieces easily.
Also, I realized I cannot serge in the round very well, which resulted in the brim being partially eaten up. :(
I just didn't have enough control/experience with my serger to actually use as a main method of construction. After that mess, I decided to mostly machine stitching and some hand stitching. I ended up having to buy more fabric because I didn't have enough of the first one to make a second hat, which my mom consequently chose to be her fabric. The results are much better!
Fabric: various quilting cottons from Joann
Notions: fusible woven interfacing
Cost: no idea... various costs for each of the quilting cotton pieces.
What I loved: 2 pattern pieces!
Notes: With careful layout, 1 yard of exterior and 1 yard of lining can make two hats.
The Burda directions were ok, but their finished hat's crown seams didn't line up. I pretty much followed Melissa's steps listed in her review here. My detailed steps are listed here for reference.
- Trace pattern the two pattern pieces (crown and brim) twice.
- Add 1/4" seam allowance to one set of pattern pieces.
- Use the pieces with seam allowance to cut out exterior (6 crown pieces and 1 brim) and lining pieces (6 crown pieces and 1 brim).
- Use the pattern pieces without seam allowances to cut the fusible interfacing.
- Fuse interfacing to exterior pieces.
- Stitch exterior crown pieces in pairs. Press seams.
- Stitch two of the pairs together, and then carefully stitch the 3rd pair to the other two while carefully matching the seams. Press seams.
- Repeat for the crown lining.
- Stitch the single brim seam for both the exterior and lining. Press seams.
- With right sides together, stitch the exterior and lining brim pieces together at the outer brim.
- Flip right sides out and press seams.
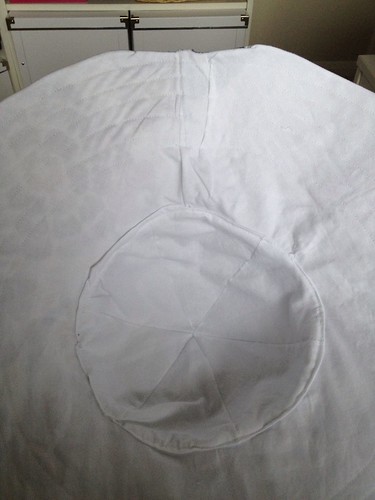
- Pin exterior crown to both layers of the brim with right sides facing each other and stitch.
- Press seam allowance for the crown lining.
- Drop crown lining into hat with wrong sides of the crown exterior and lining facing each other.
- Pin in place and slip stitch crown lining to brim lining.
- Press all seams.
- Optional: Topstitch a few rows on the brim beginning at the outer edge.
More on the dress coming soon~!
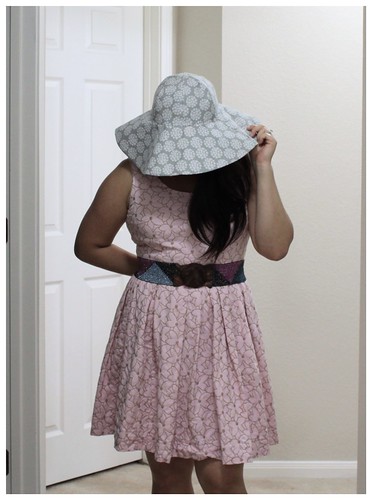
Such a sweet present for all the moms in your life. I hope you get around to yours soon. And yes, deets on the dress please :)
ReplyDeleteThanks! I was worried but they all loved them. Both the hat and dress are coming soon!
DeleteYour hats turned out great! This is one of those projects for which I cannot even imagine a serger going well... It's not you Angela, they just wouldn't be precise enough for something like this!! More power to that reviewer that you read, she must have mad serger skillz. It's cool that you got the pattern sorted, because these will make a great gift anytime you need one in the future!
ReplyDeleteThanks, Susan! I do want to learn how to use my serger better, but not in any hurry. :) they do make great gifts!
DeleteThese are super cute! I always wish I was more of a hat person, but they just don't suit me.
ReplyDeleteI'm not much of a hat person, too. I generate lots of body heat and wearing a hat makes me even warmer. :P Thanks, Adelaide!
Deletehehe, for some reason i've seen this kind of hat pop up everywhere in the sewing blog world!must be summer :) love your version, very glam and cute at the same time!
ReplyDeleteThank you! We've had an interesting spring here in Texas, but it's now definitely summer... hot and sunny!
DeleteSo cute! Good pattern choice. I need to make one of those!
ReplyDeleteThanks, Antoinette! I have the pattern pieces traced so just let me know when you want them. :)
Delete