I always thought that you sew the right side of the bias tape to the right side of the fabric. Then fold over the bias and topstitch on the right side while magically catching the backside. Pre-made bias tape is sold where one side is wider just so that it will catch on the backside. However, especially on curved edges it doesn't always catch or I would fold over more of it just to be extra sure that there would be lots of extra tape on the wrong side, which to me was equally as bad and ugly. In other cases I would topstitch with the wrong side up which would not always look pretty on the right side. I would get so frustrated with this... Sometimes I would unpick the stitches and then redo or if it was minor I would just live with it. I wish I had some examples to you of each of these... I may have to go back and look for them.
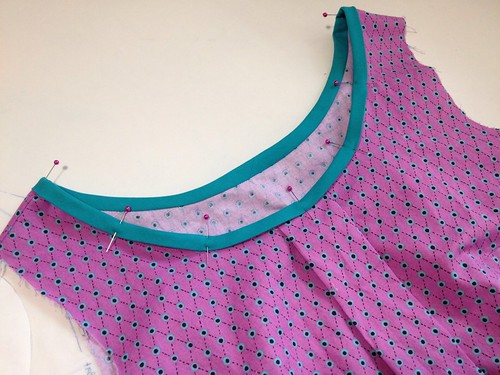
Well, in the Sorbetto instructions you sew the right side of the bias tape to the wrong side of the fabric. Then you fold it over to the right side and topstitch on the right side. This way you will make sure the bias tape is sewed down properly and neatly. Here is the neckline of my Sorbetto with the bias tape folded over to the front.
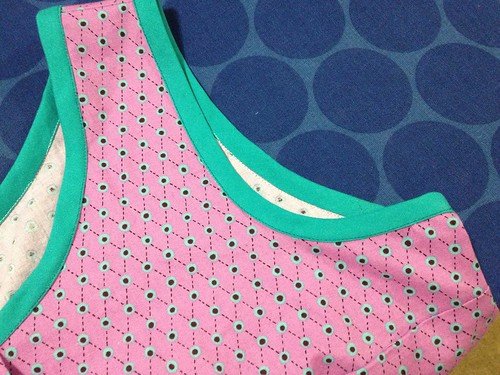
Tada! The bias tape is fully stitched down. The wrong side didn't always catch, but that's ok because it was sewed down when it was first attached. There are no places where the tape isn't fully sewn to the garment.

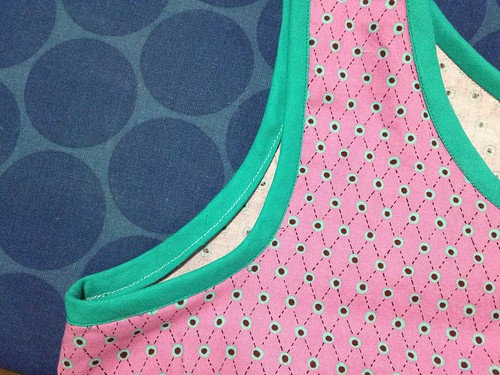
The second armhole was done the Colette method.
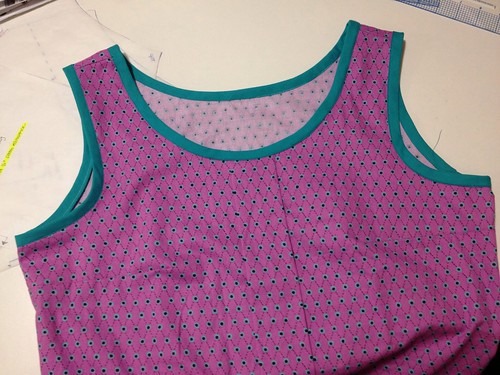
The left armhole (old method) has a slightly smaller width of the bias tape visible on the right side compared to the neckline and right armhole. It's more noticeable in person than the picture.
I'm so excited about this and hope that I will remember to use it in the future! Yay!